I make these preserves every year and they remain my most popular pantry gifted item to date. You might recall my mention of my love of Linda Ziedrich’s recipe in this watermelon preserving projects post I did a couple years ago. I love this project mainly for its something-from-nothing spirit.
Making rind pickles is sort of a pain in the ass, takes a stretch of at least three days (but can be stretched and spaced out to over a week) and creates a bunch of dishes in its wake. It’s worth it. I’ve not changed Linda’s recipe at all, but I reduced it and am explaining it in terms and segments that might shift an on-the-fence rind pickler mentality into an I’d-do-that-again attitude. I nearly swore them off after my first time making them, but I’m glad I stuck with ‘em.
Rind pickles make fabulous holiday presents and interesting snack table additions for fall gatherings.
Watermelon Rind Pickles
Makes 2 quarts, based exactly on Linda Ziedrich’s Gingery Rind Pickles in the Joy of Pickling
This recipe uses up about half of a medium-sized watermelon. You can certainly cut up more, but the cutting alone takes 1-2 hours, so plan accordingly.
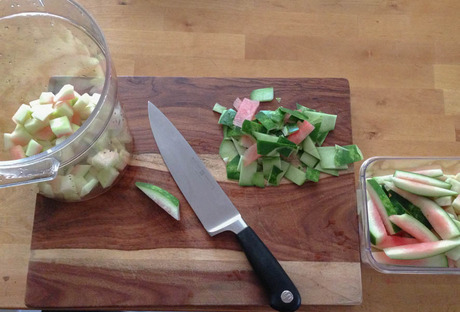
1. Cut up watermelon into wedges for eating. Cut red portion off the rind and then carefully slice off the dark green portion of the peel. This process sort of takes forever, but bear with it! Stop peeling rind when you have 2-quarts’ worth of prepared rind or multiply the recipe up and can it. Stash peeled rind pieces in the fridge until you’re ready to start a two-day process with making the pickles.
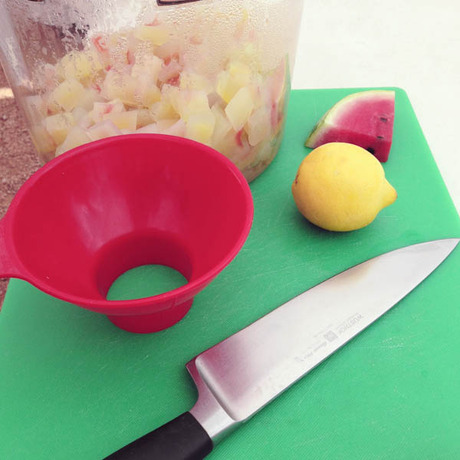
2. Make a salt solution with 1/3-cup pickling salt and 5-1/3 cups water. Put rind pieces in a large mixing bowl and pour the salt solution over them. Weight with a small plate. Let sit overnight or for up to 12 hours.
3. Drain rind pieces, rinse well. Drain and rinse again. Place rinds in a large saucepan and cover with water, bring to a simmer and let rinds cook for 5 minutes and then drain. Reserve rinds until you make your syrup.
4. Make syrup by combining:
- 1-1/3 cups water
- 1-1/3 cups white wine vinegar
- 2-2/3 cups sugar
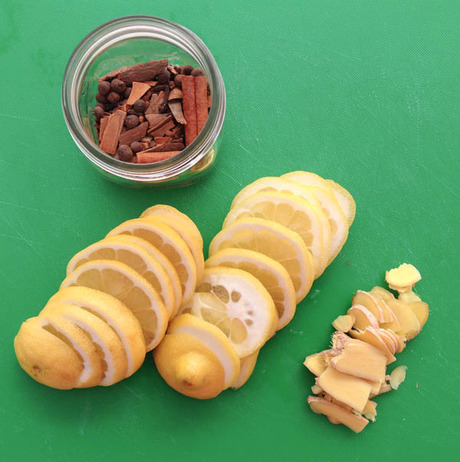
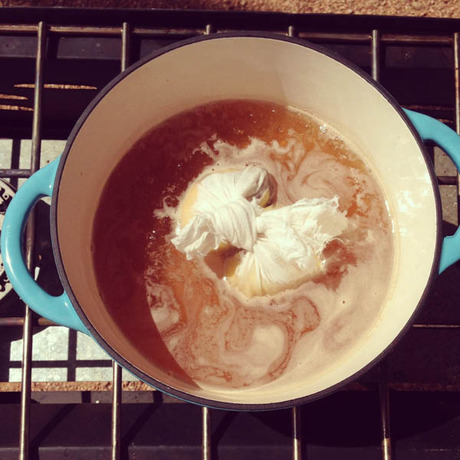
Combine and place in a piece of cheesecloth cinched with twine and drop into brine:
- 1 med lemon, thinly sliced
- 2 cinnamon sticks broken up
- 1 teaspoon each of whole cloves, allspice berries and cardamom seeds
- 1-inch piece of ginger sliced thinly, skin on
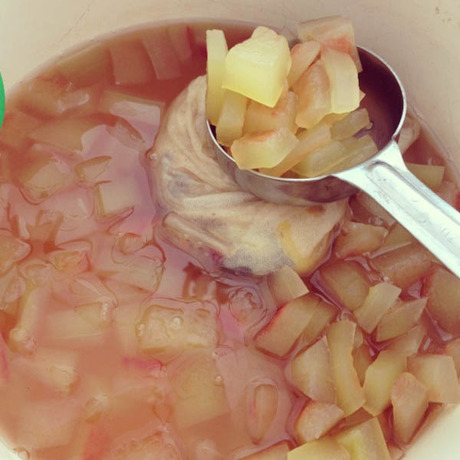
(This batch I made at the Mueller Farmers’ Market was larger than this recipe’s quantities)
Makin’ pickles in the great outdoors, like you do…
5. Bring brine to a simmer and let it cook for 5 minutes. Add reserved rinds and boil until translucent, which takes about 15-20 minutes.
6. Remove spice pouch and place rinds in quart jars and pour brine over to cover. Let cool on counter for an hour and then place in the refrigerator for up to 6 months.
If canning, pack pint or half-pint jars with rind and pour brine over the top leaving ½-inch headspace. Prepare lids and rims for canning and process either size jar for 10 minutes in a boiling waterbath.
