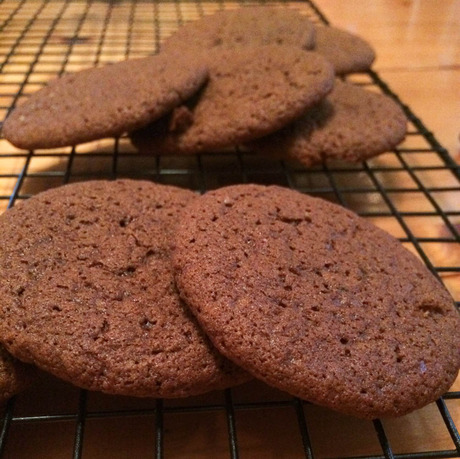
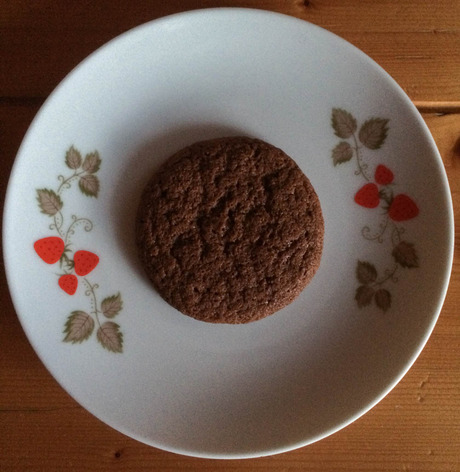
Gluten-free ginger molasses cookies
It’s a snow day here in Austin, Texas. And since this affects me zero (no kids recalled from school, no difficulty getting to my [home] office), I feel compelled to share these cookies for those who are snowed in with their loves, locally and across the country (PDX, NYC…).
These were the hit of the holiday cookie plate and are refined sugar free, to boot!
Ginger Molasses Cookies, Gluten-free
modified from Stephanie’s recipe on joyofbaking.com
yields a whole bunch of cookies (not sure if mine totaled three dozen because I ate so many of them before I counted) about 4 dozen cookies
Before you begin, set out a stick of butter so it’s room temp when you’re ready to roll.
1. Combine your flours and dry ingredients in a large mixing bowl and set aside:
3/4 cup white rice flour
1/2 cup sweet rice flour
1/2 cup arrowroot starch
1/4 cup millet flour
1/2 tsp xanthan gum
OR sub all of the above for 2 cups of a gluten-free flour blend of your choice (one that does not include leaveners already)
1 tsp baking soda
1 tsp ground cinnamon
1/2 tsp freshly ground cloves (I think the freshly mortar-and-pestle’d cloves make all the difference here, but do as you wish)
1/4 tsp salt
2. I have a mixer, so I used it. If you don’t have such technology, just roll up your sleeves and prepare for an arm workout. Combine the following in the bowl of your mixer:
1”-piece of ginger, peeled and finely grated or minced
1 stick room temp butter
1 cup coconut sugar (or brown sugar)
Beat with the paddle attachment (or your wooden spoon and super-strong arm) on high for 3 minutes.
3. Reduce speed and add to the mixer:
2 Tbs sunflower oil (or another neutral vegetable oil)
1/3 cup blackstrap molasses
1 large egg
1/2 tsp vanilla extract
4. Add the flour mixture to the mixer in 1/2 cup increments until it’s fully combined. Cover bowl and set in the fridge for 2 hours or longer.
5. When getting ready to bake, preheat the oven to 375 degrees F.
6. The business of scooping 1” balls from the chilled dough was tricky. I used a teaspoon and did my best. They will want to stick to your fingers. (I didn’t do a sugar dip, but check out the linked recipe above if you’d like your cookies more sugary on top.) Place balls on a silpat or on a parchment-lined cookie sheet spaced 2” apart.
I did not have luck smashing them with a glass (possibly because they didn’t have a sheath of sugar to shield them from sticking to the glass), so I gave them a push down with a fork like you might do with peanut butter cookies. They don’t retain the criss-cross flair, so the fork just helped me smash them down a bit. As my batches progressed, I just opted to leave them as balls and got the same results.
Bake for 8-10 minutes, so the cookies are cracked and wrinkled, but not completely dried out. Let sit on the tray for 5 minutes, then use a metal spatula to transfer cookies to a wire rack. If you move them too soon, they might fall apart (and then you must eat them, oh darn).
 Baking,
  Gluten-Free,
  Gluten-Free Desserts,
  Kitchen,
  Recipes,
  Winter


Reader Comments